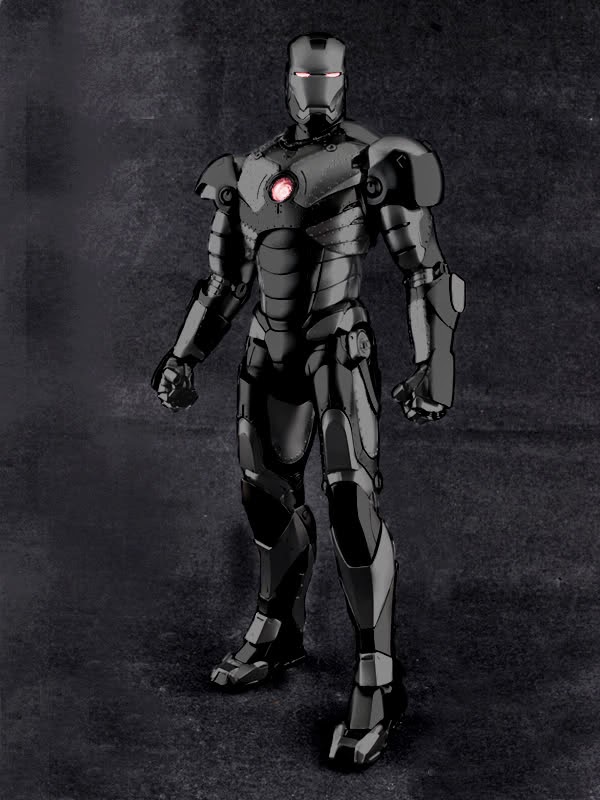
Hot Toys Iron Man Mark 2: Repair (Part 1)
Posted by Miasong on Friday, July 25, 2014 with 4 comments
I was never really attracted with the Iron Man Armors until the release of the Iron Man Movie. I was just amazed with how they give much focus/ attention with the details and that's when I decided to grab a figure or two. I guess I was trying to be a completist back then and luckily, I was able to grab hot toys figures - iron man armors mark 1, mark 2, mark 2 unleashed, marked 3, marked 3 battle damage, mark 4, mark 4 secret project, mark 5, mark 6, war machine, war machine "milk", and the iron monger.
I never anticipated the third Iron Man movie to feature a number... or should I say ALOT of Iron Man armors. This made me put a hold on the collection since I just don't have enough funds to get all of them.
If you check the pictures on top, you can really see a number of recycled designs. There's also a possibility of them "milking" or releasing another version of those that has already been released such as Mark 1 having a version 2 armor, the unleashed Mark 2, battle damage versions, etc. This made me realize that completing the Iron Man armors is a dream and unnecessary. So I started selling some possible duplicates - Mark 3 (since I already have the battle damage version) and Mark 2 (since I have the unleashed version as well).
It took some time for me to open the Iron Man figures (due to house repairs/ construction). When I finally got the chance to open them, I was able to witness the problem most IM collector has faced - battery leakage. I sold my Mark 3 fig but still had my Mark 2 in mint condition waiting for the moment that someone would buy it. It was just last week that I decided to open it up due to the fear of what the battery leak can do to the figure... and when I opened it up, the back part was just awful!! That's when my friend, Setsuna Shuryu, and I decided to repair the figure and repaint it.
(unfortunately I was unable to take a pic of the damage the battery leak caused at the back of the IM armor)
I've been doing some research and browsed IM Armor's color scheme online and found these:
What caught my attention was Magnuz's color scheme posted in Sideshow Forums - which will also be the basis of my color scheme after the repair...
We then put the plan into action and started dismantling the iron man mark 2 figure and we were surprised with what we saw...
(this is when I told myself "don't judge a book by its cover" and "looks can be deceiving")
The plastic was SO brittle. If you look at the chest pics, you'll find out how crappy it is. If you're from Cebu (Philippines), then I can tell you that the plastic used is similar to the toys being sold in Carbon! As a Gundam kit collector, I can say that the plastic used by Bandai is way better than this one! Just look at the rough surface on the inside. For a figure priced at 14,000 pesos or more, I am expecting good/ better quality. This might not be a big thing to some as they won't be dismantling the figure into this extent. Some collectors are satisfied with just displaying their figures on a shelf. But for those who would want to get his/her money's worth, I can't recommend the Iron Man Hot Toys figures. With that money, you can buy a statue already... This really made me change my mind with pursuing any Hot Toys collectible, especially with the Iron Man line. Come on Hot Toys!!
Well, enough of my ranting. Will give you guys an update on the project we are doing. We already have the figure in pieces (literally). Next step is to figure out the possible wiring since we are getting rid of the batteries, we will be closing the seams line which are very visible on most HT Iron Man figure, making use of the red LED, and then hopefully by next week, start the painting sessions as we have the paints ready.
Thank you for visiting!


how did you even dismantle them into such small pieces in the first place?
ReplyDeleteThis comment has been removed by the author.
ReplyDeletehow did you even dismantle them into such small pieces in the first place?
ReplyDeleteHow do you open the small screw cover?
ReplyDelete